Hole By Hole
Hole By Hole Details
-
Hole 1
Hole 1
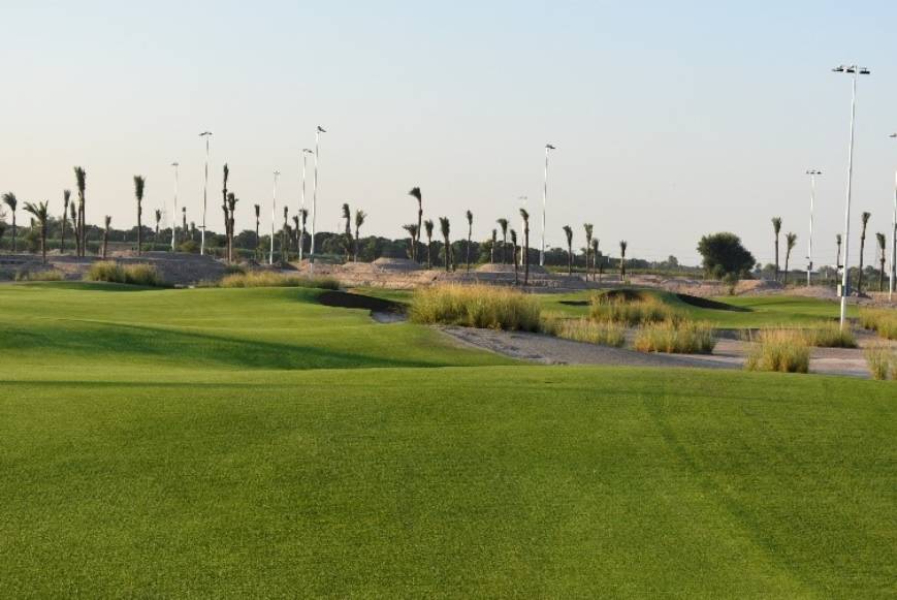
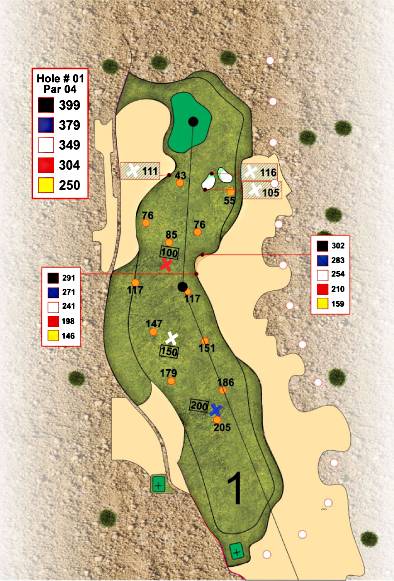
Black Blue White Red Par S-I 470 442 405 349 4 14 Sets the tempo for the front nine, with stunning Desert Waste areas on the right and your first glimpse of the Eco Bunkers, a forgiving fairway that allows the ‘driver’ to be slightly wayward, the green is not as protected as are many greens, with an opening Par beckoning.
Hole 2Hole 3Hole 3
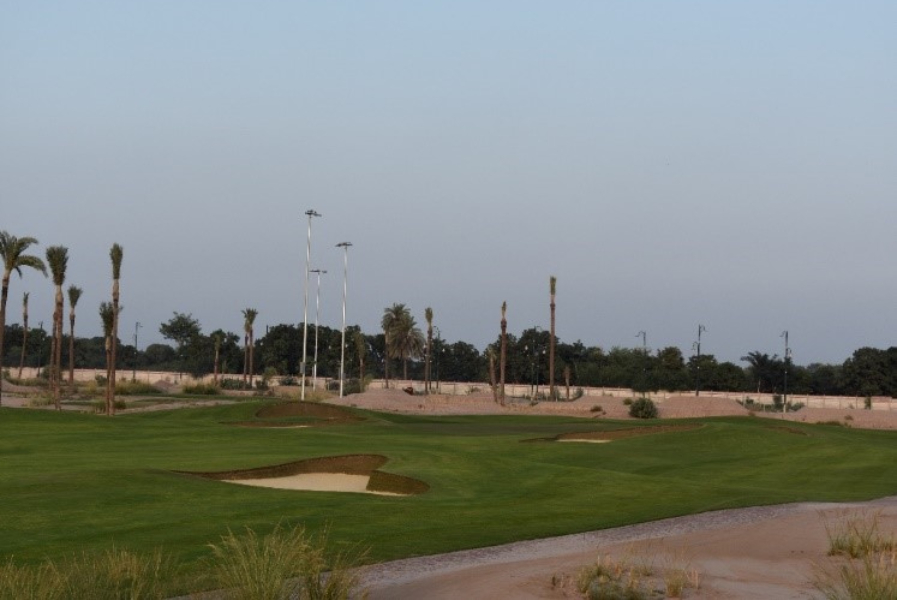
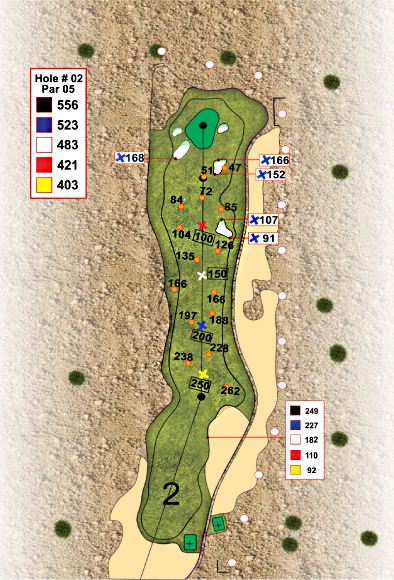
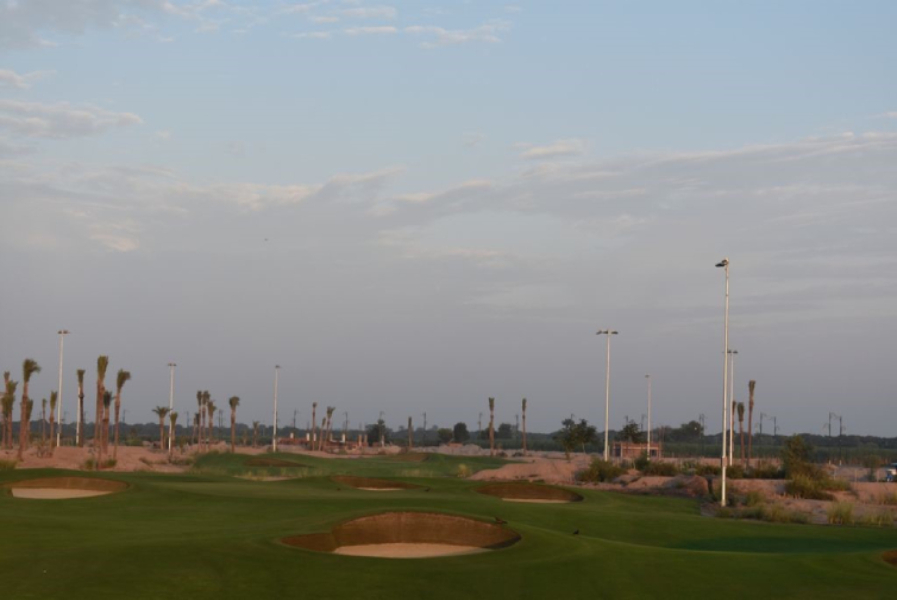
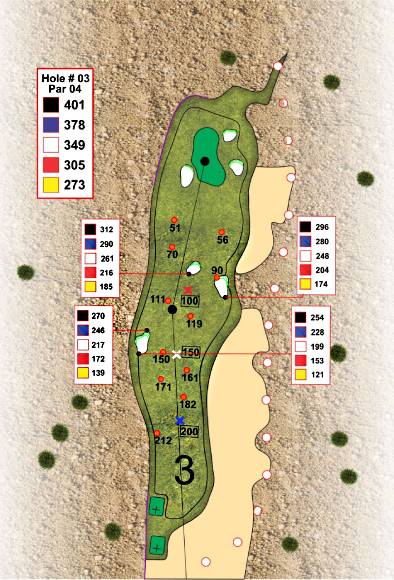
Black Blue White Red Par S-I 401 378 349 305 4 4 The shortest Par 4 on the course (401 yards), however the landing zone, and Green are well protected by Eco Bunkers which could easily make for what should be an easy hole your nemesis for the rest of the round. A generous-sized green protected by bunkers awaits which, depending on the pin position can make a one or two club difference to one’s approach shot!
Hole 4Hole 5Hole 5
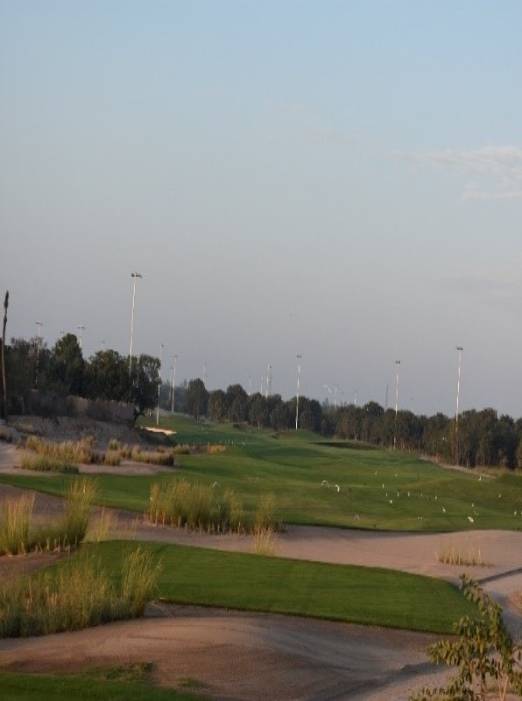
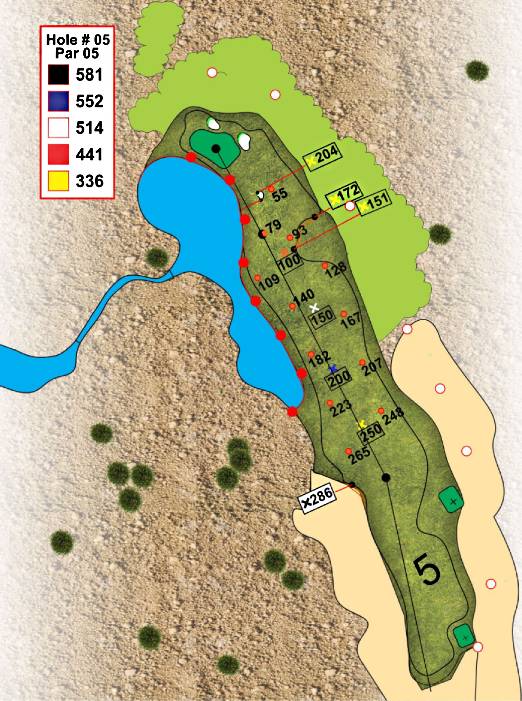
Black Blue White Red Par S-I 581 552 514 441 5 8 The backdrop of Mango Trees lining this long par 5 (581 Yards) is a welcome relief from the Desert Waste. The fairway gets tighter on 2nd landing zone with water in play on the left and a very strategically placed Pot bunker 60 yards out from the green. The selection of club and accuracy for the 2nd shot is the deal-breaker.
Hole 6Hole 6
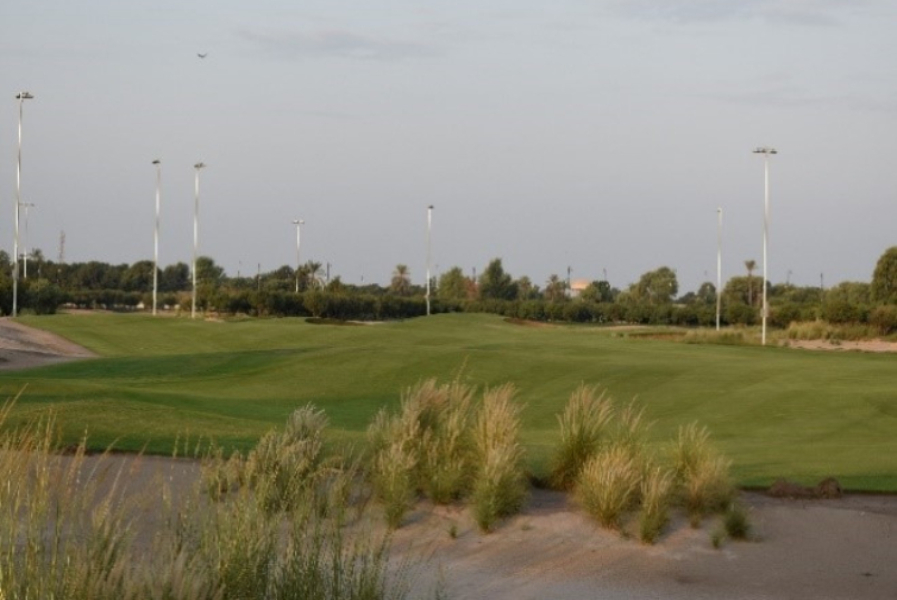
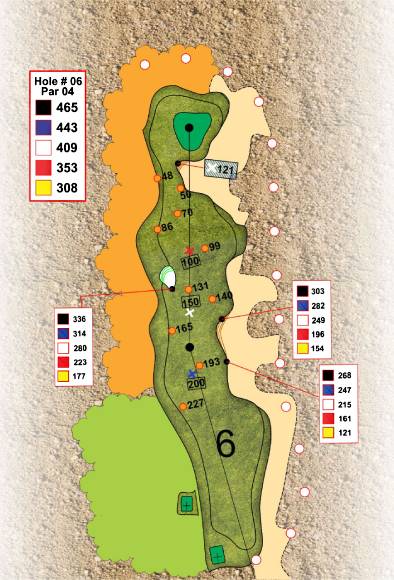
Black Blue White Red Par S-I 465 443 409 353 4 2 A deceptively tricky hole, a long tee shot with little trouble to find will set up your approach to the green with a long-range iron. The green is one of the flattest on the course however the green side dessert waste has to be navigated before even thinking about a 2 putt for par.
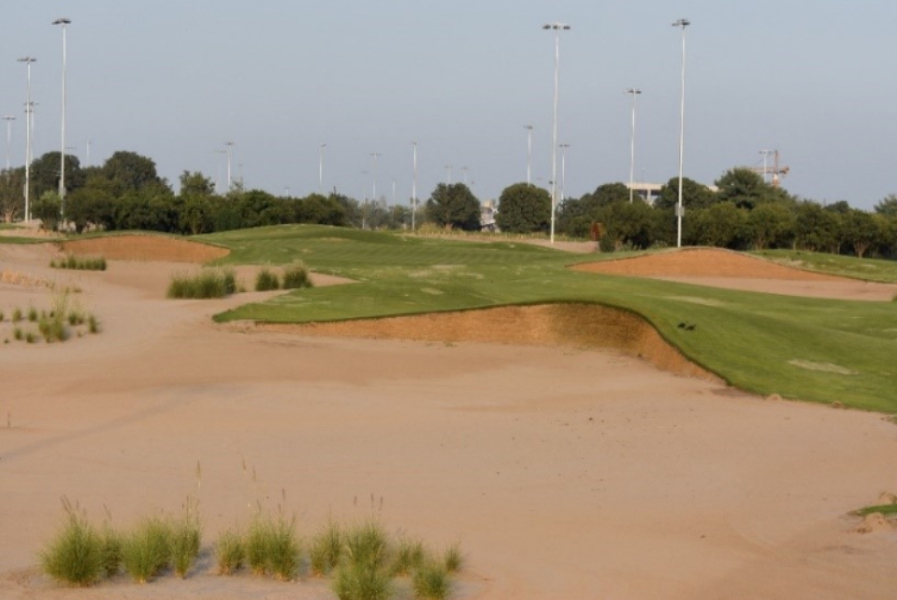
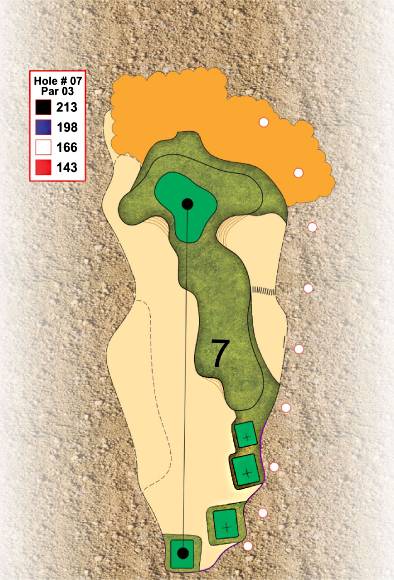
Hole 7Hole 8Hole 8
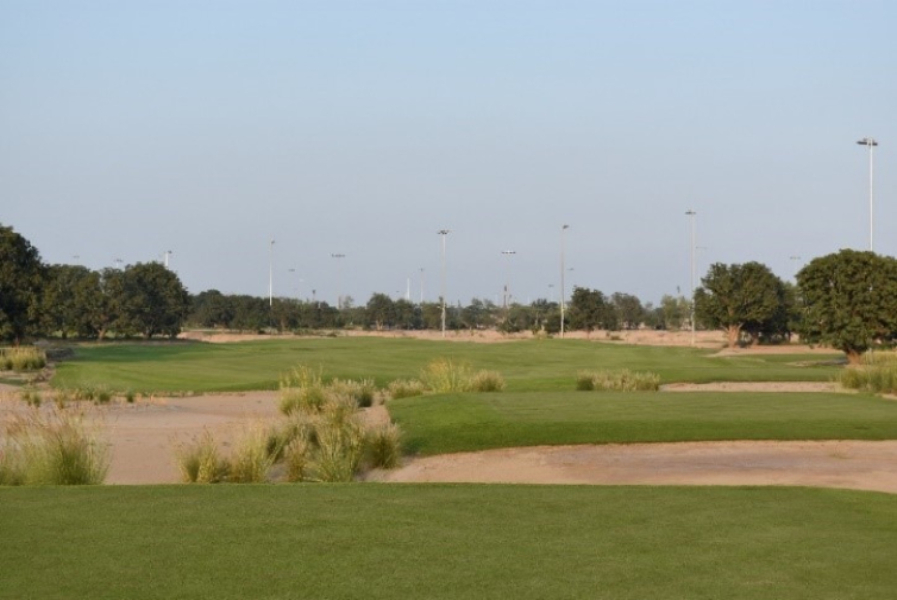
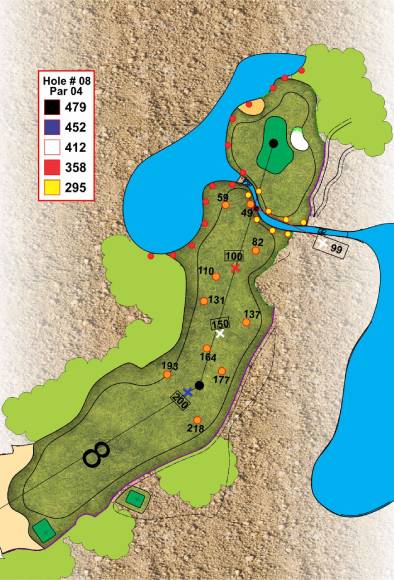
Black Blue White Red Par S-I 479 452 412 358 4 6 Hit it long and straight on this par 4, the longest on the course (479 Yards) as your drive must be long enough to ensure the menacing Mango trees lining the right-hand side are not blocking your approach to the green. The long approach shot into an unprotected green need to be accurate as the green has undulations that could turn into a 3 putt (watch out for the creek in front of the green that is hidden from the approach shot)!
Hole 9Hole 9
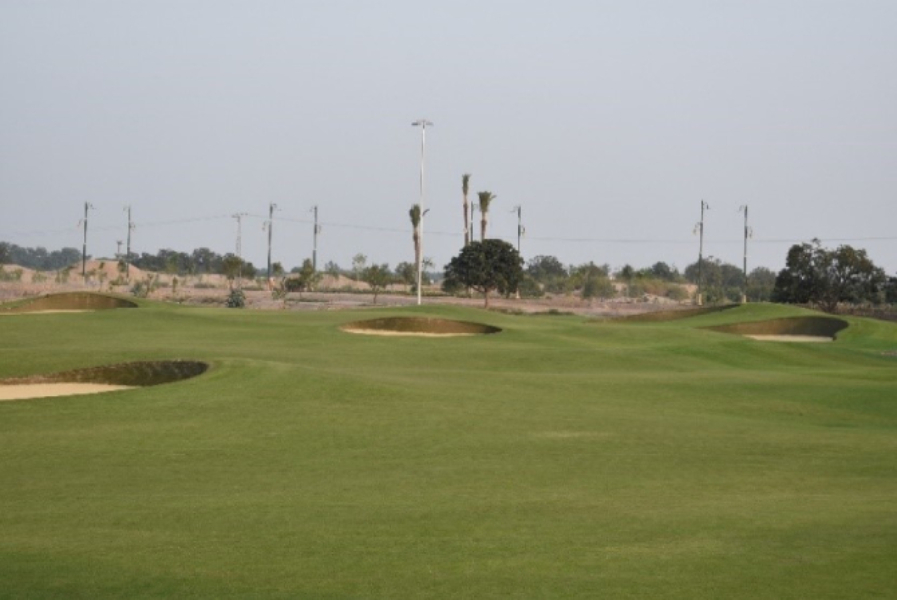
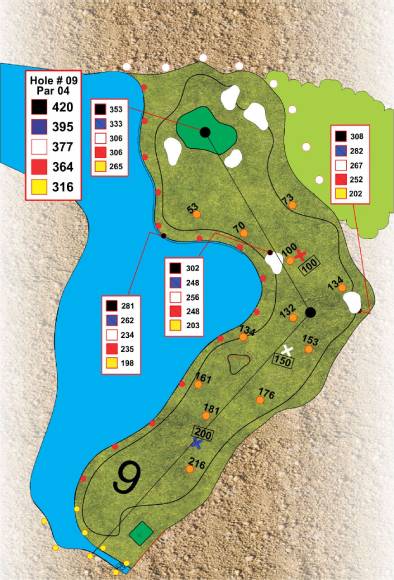
Black Blue White Red Par S-I 420 395 377 364 4 10 The beautiful front nine finishing hole dictates an accurate drive to ensure a mid-iron to the green which is far wider than it is deep. Club selection is critical on the approach as the lake on the left and the four bunkers protecting the green are menacing.
Hole 10Hole 10
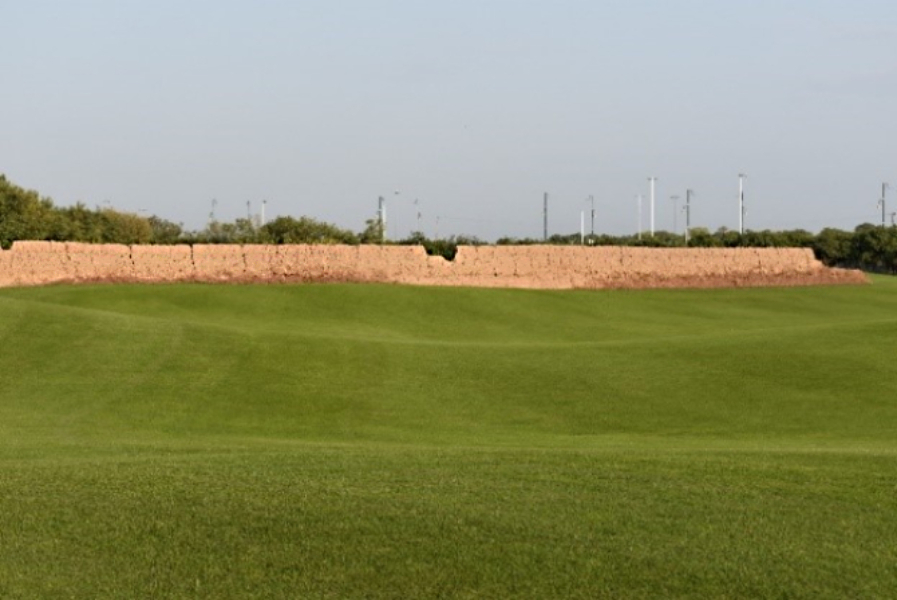
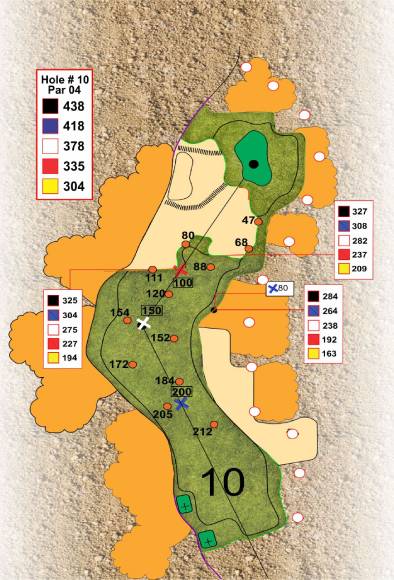
Black Blue White Red Par S-I 438 418 378 335 4 9 A deceptively difficult hole, the feature mudbrick wall extends across the fairway, (325 Yards from the tee) plays mind games from the tee and 2nd shot, the best option is to play safe and allow for a drive to land 170 yards out from the green. The green is well protected by the expanse of desert waste.
Hole 11Hole 11
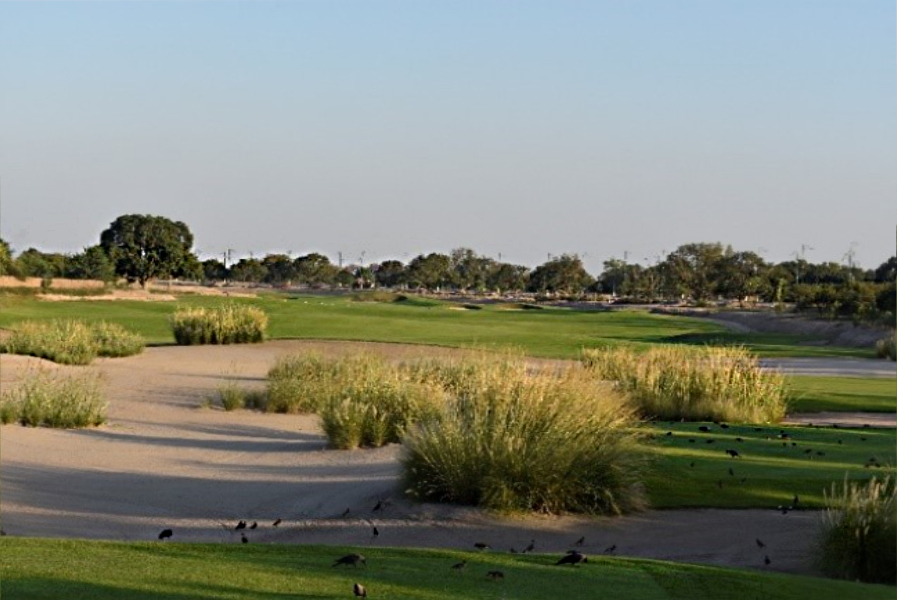
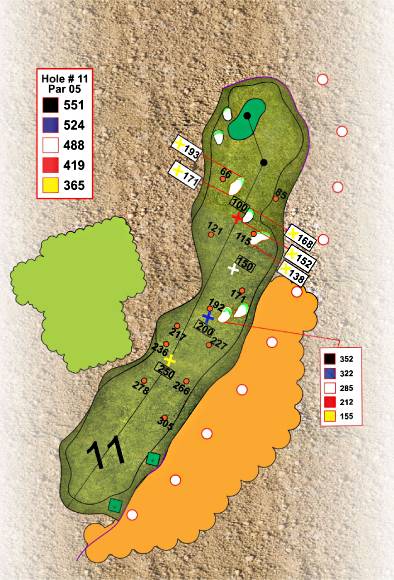
Black Blue White Red Par S-I 551 524 488 419 5 5 A dogleg left par 5 awaits, the first shot is clear of any hazard/bunker which will set you up with a range of shots to the second landing zone which is well protected by three menacing bunkers. A birdie is beckoning however this will all depend on the club selection for the 2nd shot!
Hole 12Hole 13Hole 13
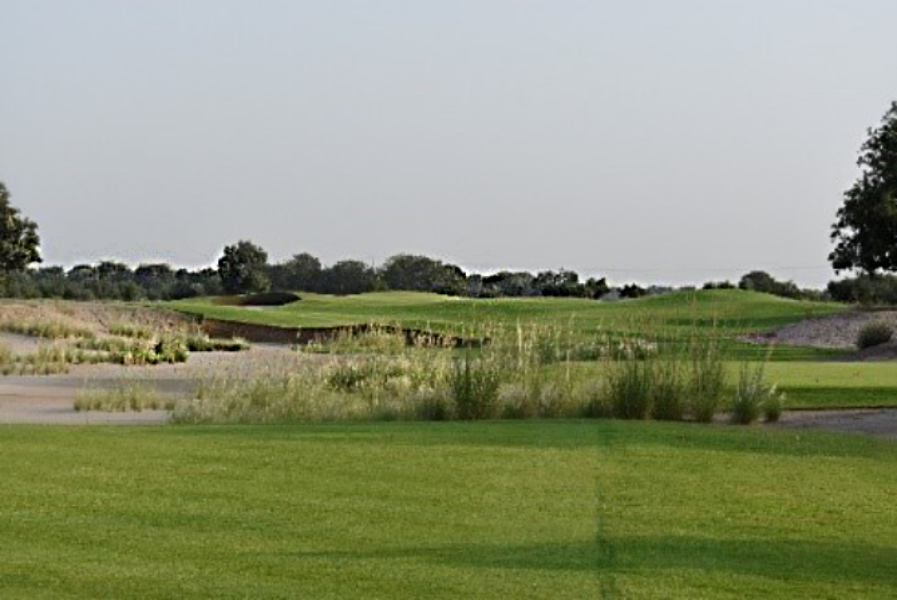
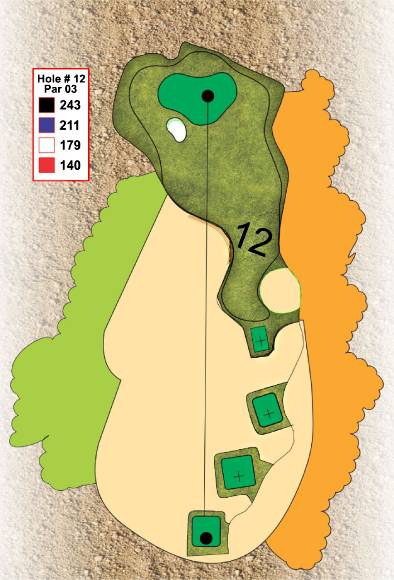
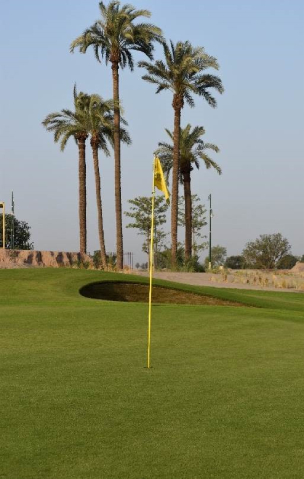
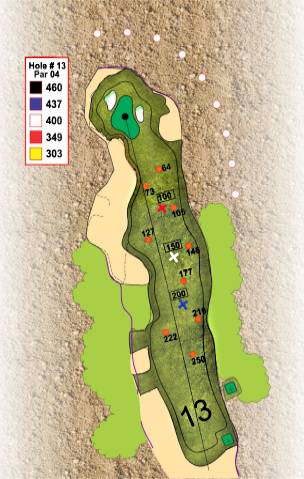
Black Blue White Red Par S-I 460 437 400 349 4 15 Pull out the Driver and “let rip” on this long par 4, 460 yards. The key to beating this hole is your position on the drive, inevitably a long-range iron will be required into the green whilst navigating the menacing desert waste on the left and greenside bunker on the right. Walking with a Par will be an achievement!
Hole 14Hole 15Hole 15
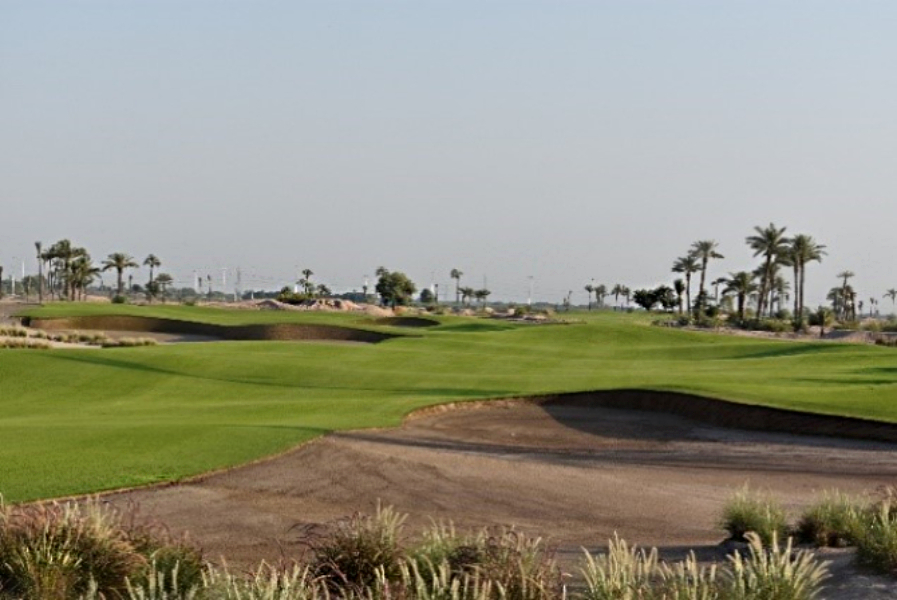
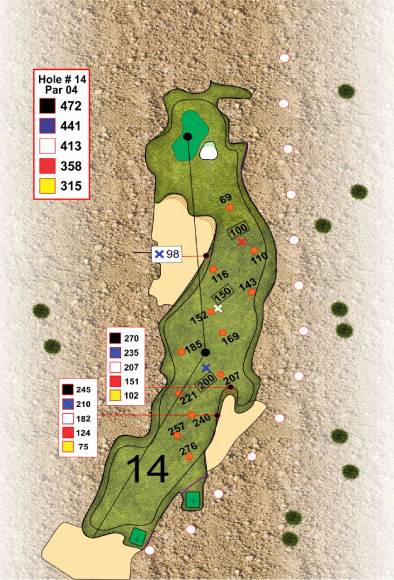
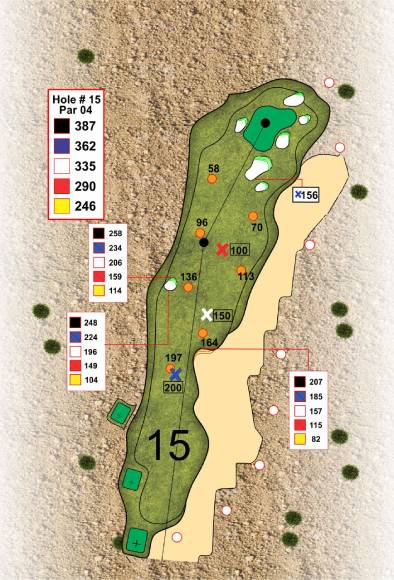
Black Blue White Red Par S-I 387 362 335 290 4 17 A relatively short but strategic 387-yard par 4, make the most of possibly your last chance to have a birdie on the scorecard. One must also remain in the center of the fairway to assure yourself of a good position for the approach shot to a well-protected and elevated green.
Hole 16Hole 16
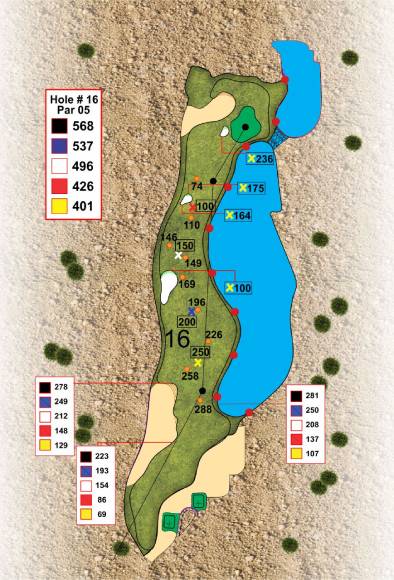
Black Blue White Red Par S-I 568 568 537 496 426537 496 426 5 1 A great test of golf awaits you on one of the toughest holes on the course. A 568-yard par 5, almost always against the wind, with a long accurate drive required to set up your second shot, from where you will enjoy a short approach shot to a well-protected green, sitting amongst a strategic greenside bunker and water!
Hole 17Hole 17
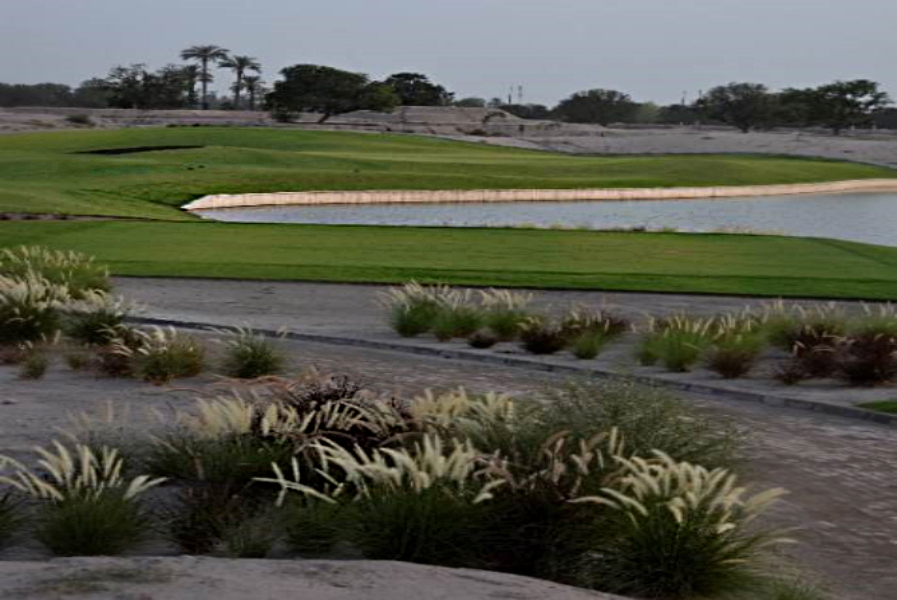
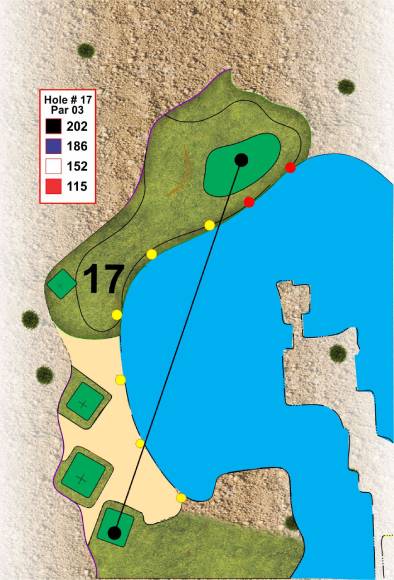
Black Blue White Red Par S-I 202 186 152 115 3 3 The game breaker par 3, 17th hole, where playing for the first time, golfers may well ask, “where’s the fairway”! Yes, your tee shot needs to be somewhat precise, as from the tee box to the green is all water with very little room for an error in Club selection!
Hole 18Hole 18
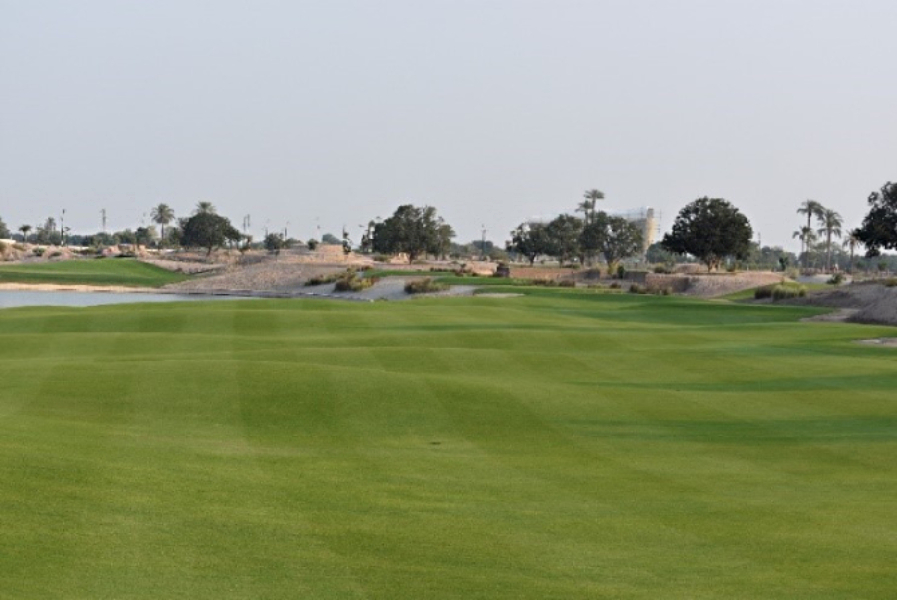
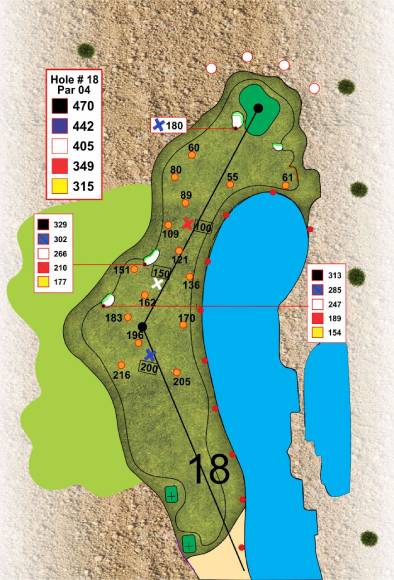
Black Blue White Red Par S-I 470 442 405 349 11 4 A par 4, 470-yard dogleg left, draped by a lake on the right and two strategically placed bunkers on the left of the fairway, brings you to the 18th green directly in front of the clubhouse terrace, where many golfers will be watching both your approach shot over the lake and your par putts!

